Making a Flint Awl for Leatherwork: A Step-by-Step Guide
A flint awl is one of those tools that looks like a museum piece and works like proper kit. It is also quick to make. An hour at the bench with a sound flake, a stick and a little pitch will give you something that punches clean holes in vegetable-tanned leather for years. The clever part is not the flaking. It is choosing a flake that will hold together, putting a stout point on it, and hafting it so the sharp end stays exactly where you put it.
Why Flint Works on Leather
Flint takes an edge that steel struggles to match for sheer bite. A freshly struck edge carries a fine serration at the microscopic level, and that bites into leather fibres rather than skidding across them. It does not rust in a damp workshop and it does not need a strop every ten minutes. What it does need is respect: flint is glass-hard and glass-brittle. A needle-fine tip will snap the first time you lever it in a tight hole. Design around that weakness by making a short, tapered, slightly rounded point, and the awl becomes genuinely useful rather than merely decorative.
Choosing the Right Flake
Start with material, not shape. Field flint that has sat in a hedgerow for decades is often frost-cracked, even when it looks solid. Hold a candidate up to the light: fine, even, slightly translucent grey or honey-coloured stone is what you want. Chalky, opaque flint with white crazing through it will crumble at the tip.
What a good awl flake looks like
- Between about 50 mm and 80 mm long, 15–25 mm wide, and 5–8 mm thick at the base.
- Triangular or blade-like, with a ridge running towards the tip to stiffen it.
- A gentle curve is fine. A flake shaped like a banana will make an awl that wanders.
- Clean edges with no hinge fractures — those step-like breaks that stop a flake dead.
Leave anything with cortex, fossils or cracks in the last 20 mm. That is where the point will be, and that is where a failure costs you the whole tool.
Shaping a Stout Point
Work on a leather pad on your thigh, with the flake supported so it cannot flex. A copper-tipped flaker or a sharpened antler tine will do, and you should abrade the platform edge with a coarse stone before every pass so the flake releases cleanly.
- Pressure-flake one face, taking small flakes in a line from the middle towards the tip.
- Turn the flake over and repeat, alternating sides so the point stays on the centreline.
- Keep the taper long and even. Aim for a cone, not a needle.
- Grind the finished tip on a wet sandstone or a coarse diamond plate at roughly 20 to 25 degrees, a dozen passes per side.
That grinding step separates a working awl from a display piece. It removes the fragile feather edge and leaves a slightly rounded, polished point that slides through leather without chipping. Sight down the length when you are done: if the tip sits off to one side of the flake's axis, the awl will steer in the hole. A few more careful flakes on the heavy side will bring it back.
Hafting It Safely
A handle about 120 mm long and 20–25 mm across, made from seasoned ash, hazel, oak or birch, sits well in the palm. Cut a slot 25–30 mm deep with a fine saw, narrow enough that the flake base has to be pushed home.
- Bed the flake in pitch. Equal parts pine resin and fine charcoal powder, with a little beeswax to keep it flexible. Melt it gently — it scorches easily — and warm the flint before seating it.
- Bind over the joint. Artificial sinew, linen thread or thin rawhide, whipped from the handle up onto the flint for about 20 mm, then back down and knotted.
- Seal the binding with a touch of warm pitch or beeswax so moisture stays out.
- Test it hard on scrap leather before trusting it. If the flake shifts even slightly, rebind it.
Two-part epoxy works if you prefer, though it makes re-pointing the flint later a good deal harder.
Using the Awl on Leather
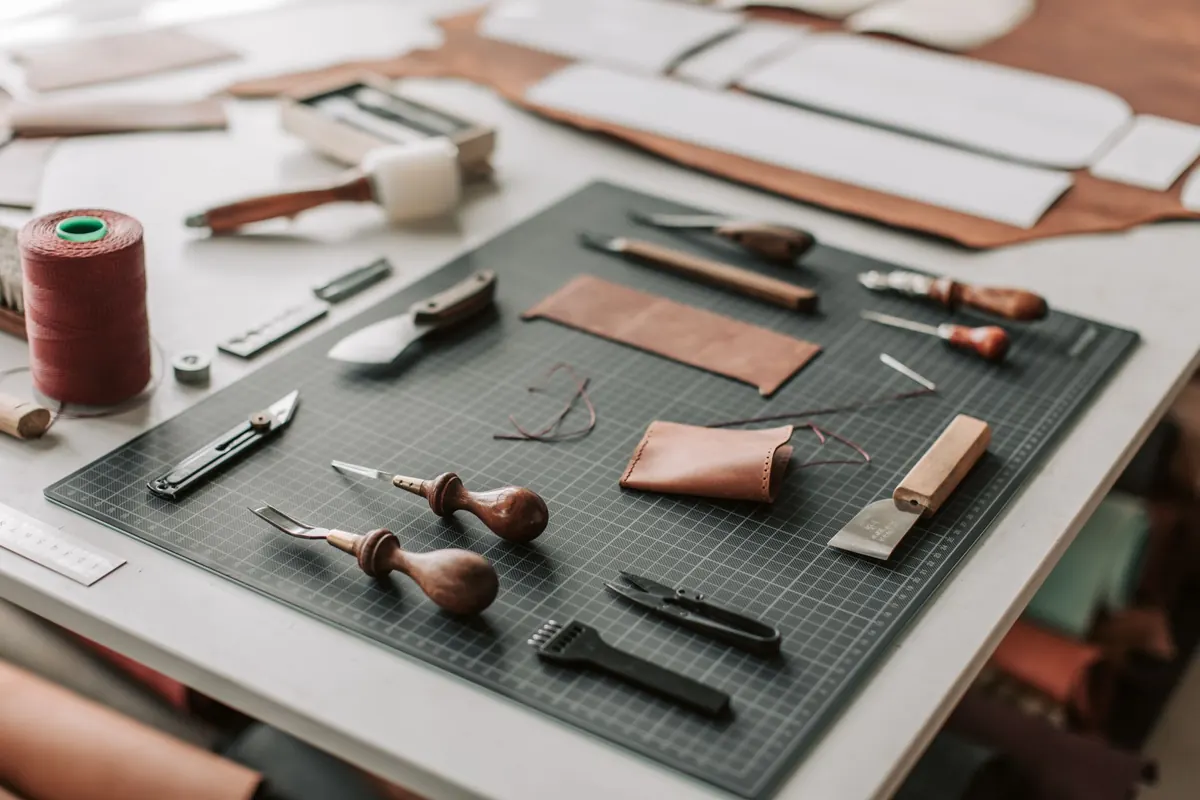
Mark your stitching line with a wing divider, 3–5 mm in from the edge, then space the holes. Four to six millimetres suits belts, straps and bags; fine work such as watch straps and card wallets wants 2.5 to 3 mm.
Piercing cleanly
Back the work with a cutting mat, a scrap of card or a block of softwood. Hold the leather flat on the bench, keep the awl vertical, and push with the palm of your hand rather than your fingers, twisting gently as the point enters. Withdraw with the same twist. Do not lever the awl sideways to widen a hole — that is the most common way to snap a flint tip.
Thick vegetable-tanned leather pierces more easily if you dampen the surface with a sponge first. Damp, not soaked: the hole closes back around the thread afterwards, which is exactly what you want. For very thick work, pierce from both faces and meet in the middle, keeping the awl at the same angle each time so the holes line up.
Safety and Maintenance
Wear eye protection while flaking and a cut-resistant glove on the holding hand, and work over a tray — flint micro-flakes travel, and bare feet always find them. Clean up with a damp cloth, never with your fingers. Flint cuts are clean but can be deep; if a wound will not stop bleeding, or is over a joint or tendon, get it seen properly rather than patching it up at the bench.
Photo: Vlada Karpovich / Pexels
Seasonal Tinder: What to Collect in Each British Month for Flint Sparks
A month-by-month British guide to gathering dry natural tinders — birch bark, thistle down, reed mace and...
Flint vs Chert: How to Tell Them Apart in the Field
Flint is a kind of chert, but the two behave differently under a hammerstone. Here's how to read colour,...
About Us